Flicka Friends · Fall 2003 · Vol 8, #3
Building a Cradle for Your Flicka
By Rik Sandberg · page 18 of the Fall 2003 issue
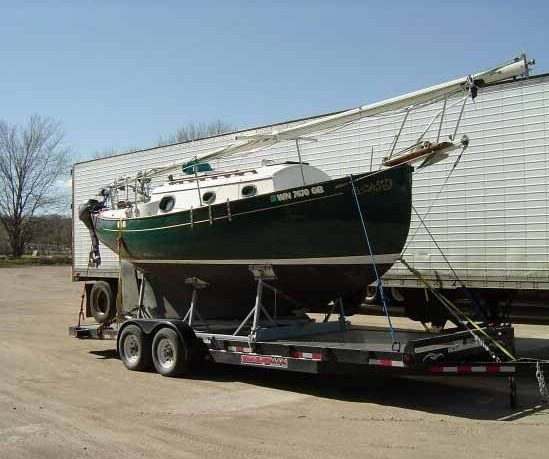
When we were looking for a trailer to carry s/y Happy Little Girls 2, I'm sure like most, we first started looking at normal boat trailers. We found these priced anywhere from $4,200 on up to $6,900. I didn't care for the way the less expensive trailers were built and didn't really want to have $6,500 dollars tied up in a trailer that was probably going to just sit for 90% of every year. Several of my businesses have equipment or materials that occasionally need to moved. So, I thought that a flatbed trailer would to be more efficient. Adding a cradle to the flatbed trailer would allow one more use for the trailer. When I need to move our Flicka, the cradle is loaded onto the trailer and chained down. The cradle also serves two purposes. It works just as well when storing the boat on the hard as it does to transport s/y Happy Little Girls 2 on the trailer.
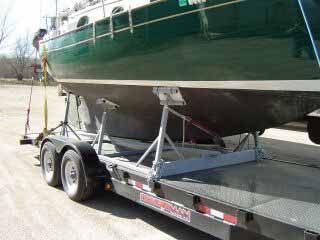
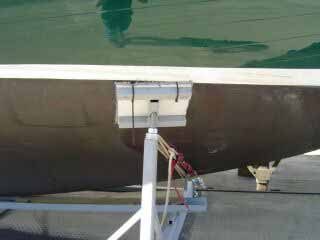
The 24 foot flatbed trailer cost $3,600, which was less expensive than any of the boat trailers I looked at. There is another $300 or so tied up in the cradle. The cradle’s measurements are 110 inches long (108 in 2 inch x 2 inch side pieces + 2 inch x 6 inch front cross piece) and 70 inch wide at the bottom (66 in 2 x 2 cross pieces + the 2 2 inch x 2 inch side pieces). The upright support legs slant inwards from the sides of the base, 5 inches per side, measured at 30 inches above floor, giving approximately 60 inches between the center of the pads when measured side to side. I ripped a 2 foot long, 2 inch x 6 inch board at an angle, 4 inches narrower at one end (top), to use as a template for this angle. The uprights are spaced out equally from front to back with the front upright sitting atop the 2 inch x 6 inch front crosspiece and the rear upright sitting atop and flush with, the back end of the 2 inch x 2 inch side pieces. The center upright lines up with the center cross piece in the base. The keel rest is 5 inches higher in the front than the back to allow the boat to sit level when in the cradle. The keel rest (6 inch channel) is welded atop the 2 inch x 2 inch rear cross piece and the 2 inch x 6 inch front cross piece with a 1 inch square tube spacer to make the difference between the front and rear heights five inches (More about this below).
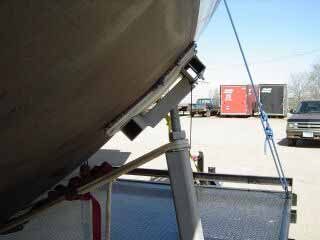
The metal pad frames are made with a ½ inch space between the plywood and the 6 inch center piece to allow the plywood to shape itself somewhat to the curve of the hull. The plywood is only attached to the metal frames on one side, to allow this flexing. I will be building an extra, adjustable, front keel rest, as the keel does not sit on the keel rest all the way to the front. In the interim, a 10,000 lb. nylon ratchet strap is used between the two front uprights and under the front of the keel to support it better while trailering. I don’t believe this would be necessary while just sitting on the hard. The ratchet strap front keel support has worked well enough that I have not felt the need to rush into building the adjustable metal front keel support, although I will eventually. Since the original construction, I have re-thought the keel rest. When I first built the cradle, without the benefit of the boat being where I could put a tape measure to it, (she was in Seattle, I was in Minnesota) I used a six inch channel for the keel rest. I thought that the keel could sit down between the sides of the channel iron to keep it securely centered, side to side, in the cradle while trailering.
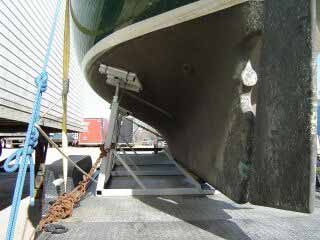
I found, upon loading the Flicka the first time, that the keel was just a bit too wide to fit between the sides of a 6 inch channel. At this time I had to put a 2 inch x 6 inch board (these don't quite fit and must be ripped down a ½ inch or so) in the channel, so the keel could sit above the channel sides. My thinking then was that I would simply remove the 6 inch channel and add an 8 inch channel instead. After further investigation, I decided that it would be better to leave the 6 inch channel in place, continue to use the ripped down 2 inch x 6 inch inside of it and add 2 inch “wings” of 1 ½ inch x 1 ½ x 3/16 inch angle to the top of the sides of the channel for the keel to sit between. After seeing everything loaded and in place, I found that lowering the boat the extra two inches would put the rudder too close to the bed of the trailer. This probably wouldn't have made much difference on the trailer, which is perfectly flat, but may have been a problem when using the cradle on the ground, which may be more irregular. This does not change the need for the front keel rest I referred to above.
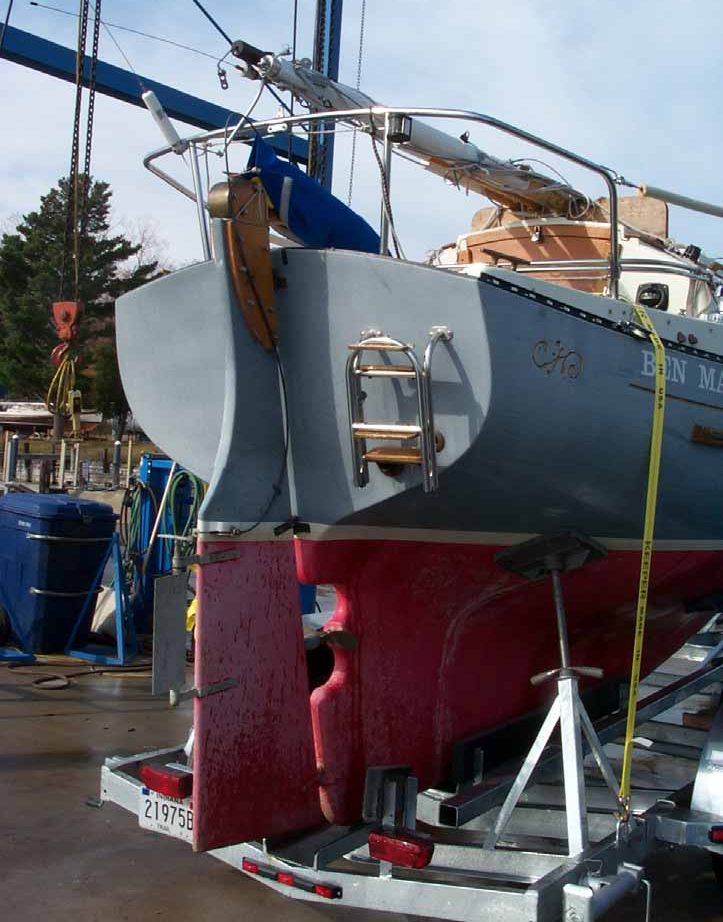
If one wanted to use an 8 inch channel instead of the 6 inch, this could be done and still maintain enough ground clearance by using a 2 inch x 8 inch rectangle for the front cross piece and 2 inch x 4 inch rectangle tubing for the rest of the pieces of the base of the cradle. This would add a substantial amount of weight to the unit though, making loading and unloading of the cradle to or from your trailer by hand more challenging. So, you can see that I have not only killed two birds with one stone, but also saved some money in the process. For more information, my email address is: rik@rjsgraphics.net
Advertisement
Transcribed from Flicka Friends, Fall 2003 (page 18). Read it as originally printed in the PDF, or see everything else in this issue.
Advertisement
Keep reading — next issue
Cribbing and Boat Stands Tom Davison · Winter2014More from the archive
Every surviving issue is in the Flicka Friends archive. Looking for a particular boat? Try the Flicka 20 registry.