Flicka Friends · Summer 2001 · Vol 6, #2
One Way to Get A Flicka — Finishing it off
By Dave Kenyon · page 1 of the Summer 2001 issue
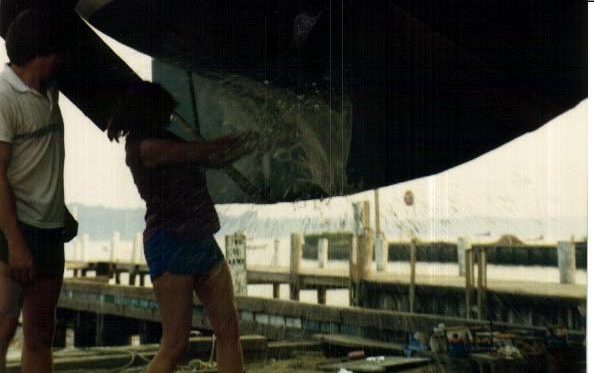
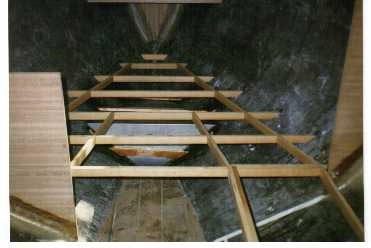
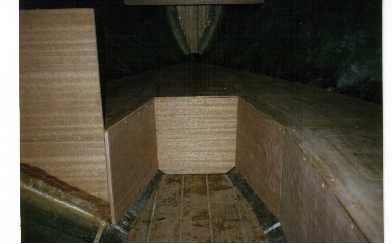
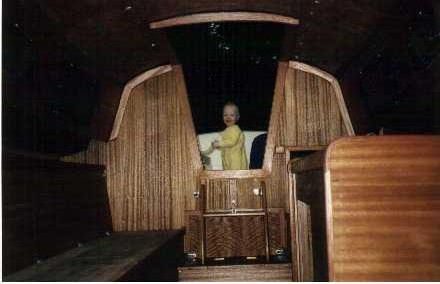
After completing the hull and deck, I started working on the interior. The first step was to begin fitting the bulkheads. The main bulkhead is at the companionway. Two partial bulkheads on the port side form the galley and a small bulkhead on the starboard side separates the settee from the forward cabin. I measured and measured and then cut the bulkheads from cheap plywood to fit them and take more measurements. These patterns were then used for cutting the very expensive ¾ inch marine grade mahogany plywood. Most of the interior is varnished mahogany. The bulkheads were fiberglassed to the hull and then I used Douglass Fir for building up much of the framing for the berths. There is a double berth forward, a settee and the quarter berth. I did not add a head as I thought it made the cabin feel too small. All of the berth framing is bonded to the hull. I got real good at measuring multiple angles (fore-aft and up-down) and transforming these onto the frames. I inserted a 25-gallon bow tank below the v-berth for fresh water before bonding the frames in place. The frames were then covered with marine grade plywood where the surfaces are hidden under the cushions. The front faces were covered with the mahogany ply. In the forward cabin I added a mahogany shelf on both sides and a forepeak locker. Behind the settee is another shelf. The back of the settee folds down and is placed under the cushion and a separate cushion behind this back (under the shelf) makes the berth larger for sleeping.
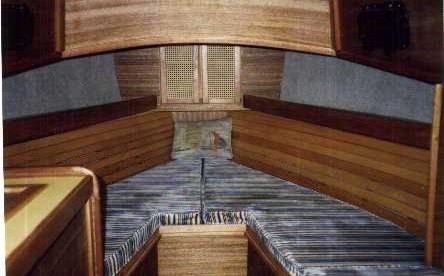
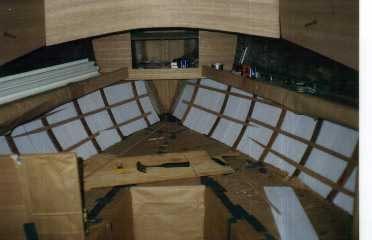
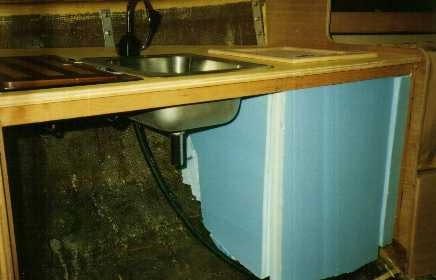
The galley contains a basic alcohol stove (Kenyon, of course), a stainless steel sink with faucet, a foot pump and an icebox. The table folds down against the front of the icebox with a piano hinge. The aft portion of the galley has two drawers and in the middle, there is a door under the sink. The interior is finished off with a headliner (purchased from Pacific Seacraft) and ¼ inch plywood lining the cabin trunk sides. I wanted to have all bronze opening ports but they just wouldn’t fit into the budget, so I compromised and settled for the black plastic opening ports. Someday maybe I’ll upgrade to the bronze. By this time I was starting to run low on money and I still had all of the rigging, sails and other associated gear yet to buy. I contracting a seamstress to cover my cushions (I didn’t want to learn to sew also!). The last project on the interior was the forward cabin ceiling. This turned out to be the most difficult task of the entire boat building project. I had seen some boats with wooden strips inside the hull and I thought that looked great and figured I’d give it a try. The only problem is there is a double curve that the wood must follow. I started by glassing in some plywood strips vertically between the berth and the shelf to give me something to screw into. Then I put insulation material between these ribs to minimize any condensation. So far so good. I selected maple for the wood ceiling and cut it into strips about 1.5 inches wide and maybe 3/8 inch thick. I started with the strip just beneath the shelf and managed to get that screwed in, however, each successive piece had more and more curve and it was getting tougher and tougher. Once I couldn’t get them to curve into place I decided I needed to steam them. That sounds easier than it is (these are about 6 or 7 feet long). I couldn’t get them sufficiently steamy to bend enough so I decided to try boiling them. I bought a piece of gutter, bent it up at the ends, filled it with water and then put it over a fire. One at a time I boiled the pieces of wood and then when they were sufficiently cooked, I screwed them into place. This actually worked pretty well and I was proud of myself for having figured this out. Until I realized that after it dried, the wood shrank back to its normal size, leaving little gaps between each strip. Oh well, my ceiling has some small gaps, actually it doesn’t look that bad. I finished it off with about a zillion plugs to hide the screws and lots of coats of varnish.
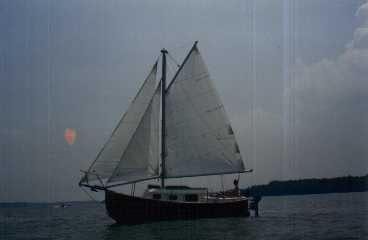
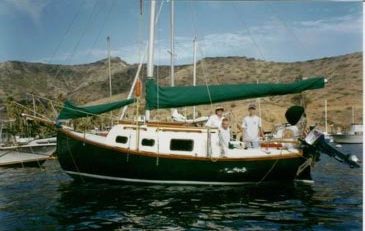
Let’s see, by now I have moved the boat several more times and now live in Chester Springs, PA. The last tasks involved buying lots of hardware, rigging, spars sails and all the necessary paraphernalia required to go sailing. I bought the gaff rig spar kit from Pacific Seacraft and learned how to tap threaded holes into aluminum. I also learned how to put Sta-Lok fittings onto the wire stays and shrouds. If nothing else, building a boat is a learning experience! I even learned that the cheapest sails are made in Hong Kong (I am almost totally broke by now). So I ordered the sails (a gaff main, a clubfooted staysail and a working jib) from Sails East, Inc. Unfortunately, they were delivered on a slow boat from China and the boat was launched sans sails. Anyway, I managed to get all of the rigging to fit and with a tabernacle mast step, I can raise and lower the rig by myself. Finally, in June 1987, I launched the QED in the Bohemia River on the very northern-most part of the Chesapeake Bay – and it floated. Not exactly where I had put the waterline, but it floated. (For an explanation of the name, QED, see the Flicka Web Page and the Names Link).
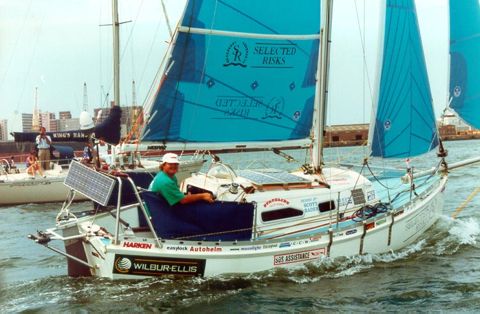
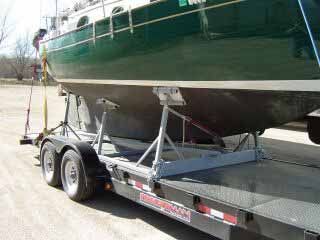
Several weeks later, when I finally received the sails, I found out that it actually does sail too. That summer we took our maiden voyage to a Pacific Seacraft Rendezvous in St. Michael’s Maryland. The highlight of that trip was having dinner with Katy Burke and hearing all of her Flicka adventures with Bruce Bingham. In 1994 I bought a trailer and a truck and towed the boat to Southern California where I lived on the boat in Newport Beach for 4 months before my family moved out. We sailed for 5 years in San Diego, LA, and 2 weeks in San Francisco (where we went to another PS Rendezvous). In 1998 I sailed the QED in the Newport-to-Ensenada race, finishing seventh in the cruising division. When my job brought me back East to Virginia, I once again trailered the QED across the country and now have the boat back in the Chesapeake, this time at Herrington Harbor just South of Annapolis. Actually, the boat is currently out of the water and undergoing a complete refit. It’s amazing how many parts need repair or replacement after 13 years of sailing. My current plan is to get the Flicka shipshape again and then trailer it south this fall for some extended cruising in the Bahamas. At least as long as the finances, the job and my family will allow, but that’s a future story. In the meantime, if you see a green, gaff-rigged Flicka named QED, Wave. My E-mail (at least for now) is: kenyon.dave@orbital.com
Advertisement
Transcribed from Flicka Friends, Summer 2001 (page 1). Read it as originally printed in the PDF, or see everything else in this issue.
Advertisement
Next in this issue
Inboard or Outboard? Tom DavisonMore from the archive
Every surviving issue is in the Flicka Friends archive. Looking for a particular boat? Try the Flicka 20 registry.